Steps On How To Create Quality Images Using AI Grok Image Generator
Steps On How To Use Grok AI for Stunning, High-Quality Image
Getting Started with Grok: Simple Steps to Mastering the Tool.
Step 1: Get Started for Free
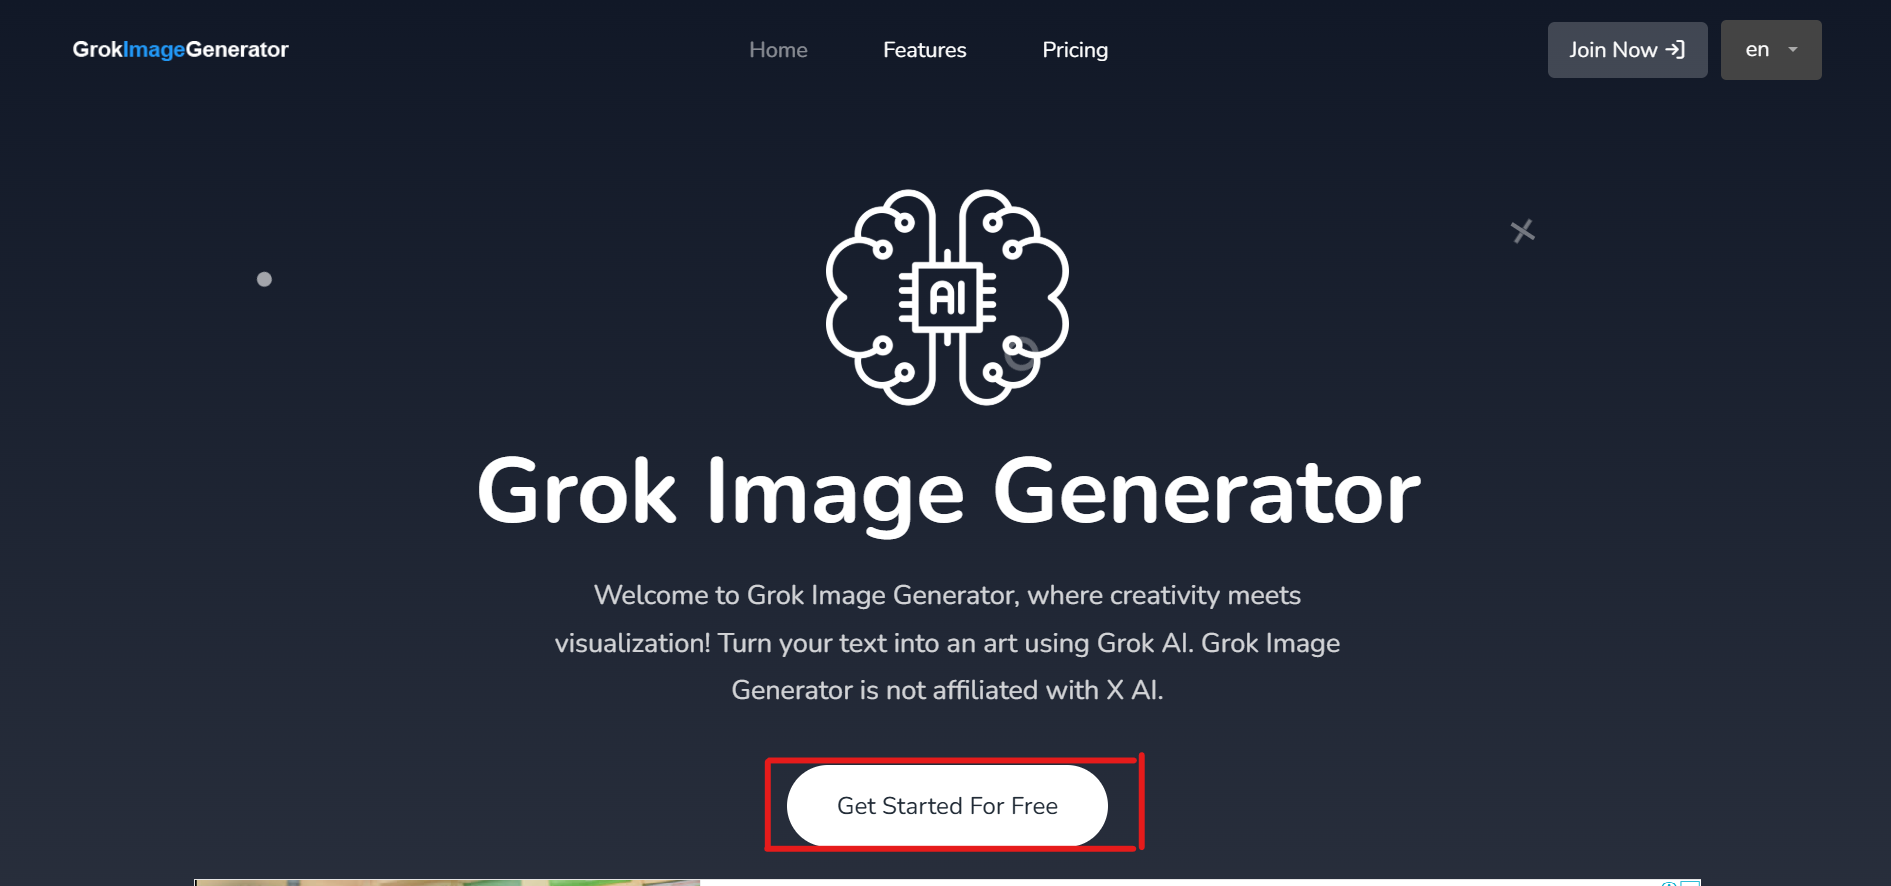
The first thing on the list is to click the circled part, Get started For free on Grok AI image generator, to create an account because that’s a non-negotiable requisite to having access to the platform. If you have an account already, just log in; but if you don’t, sign up or suffice to say create an account.
Step 2: Click on Dashboard
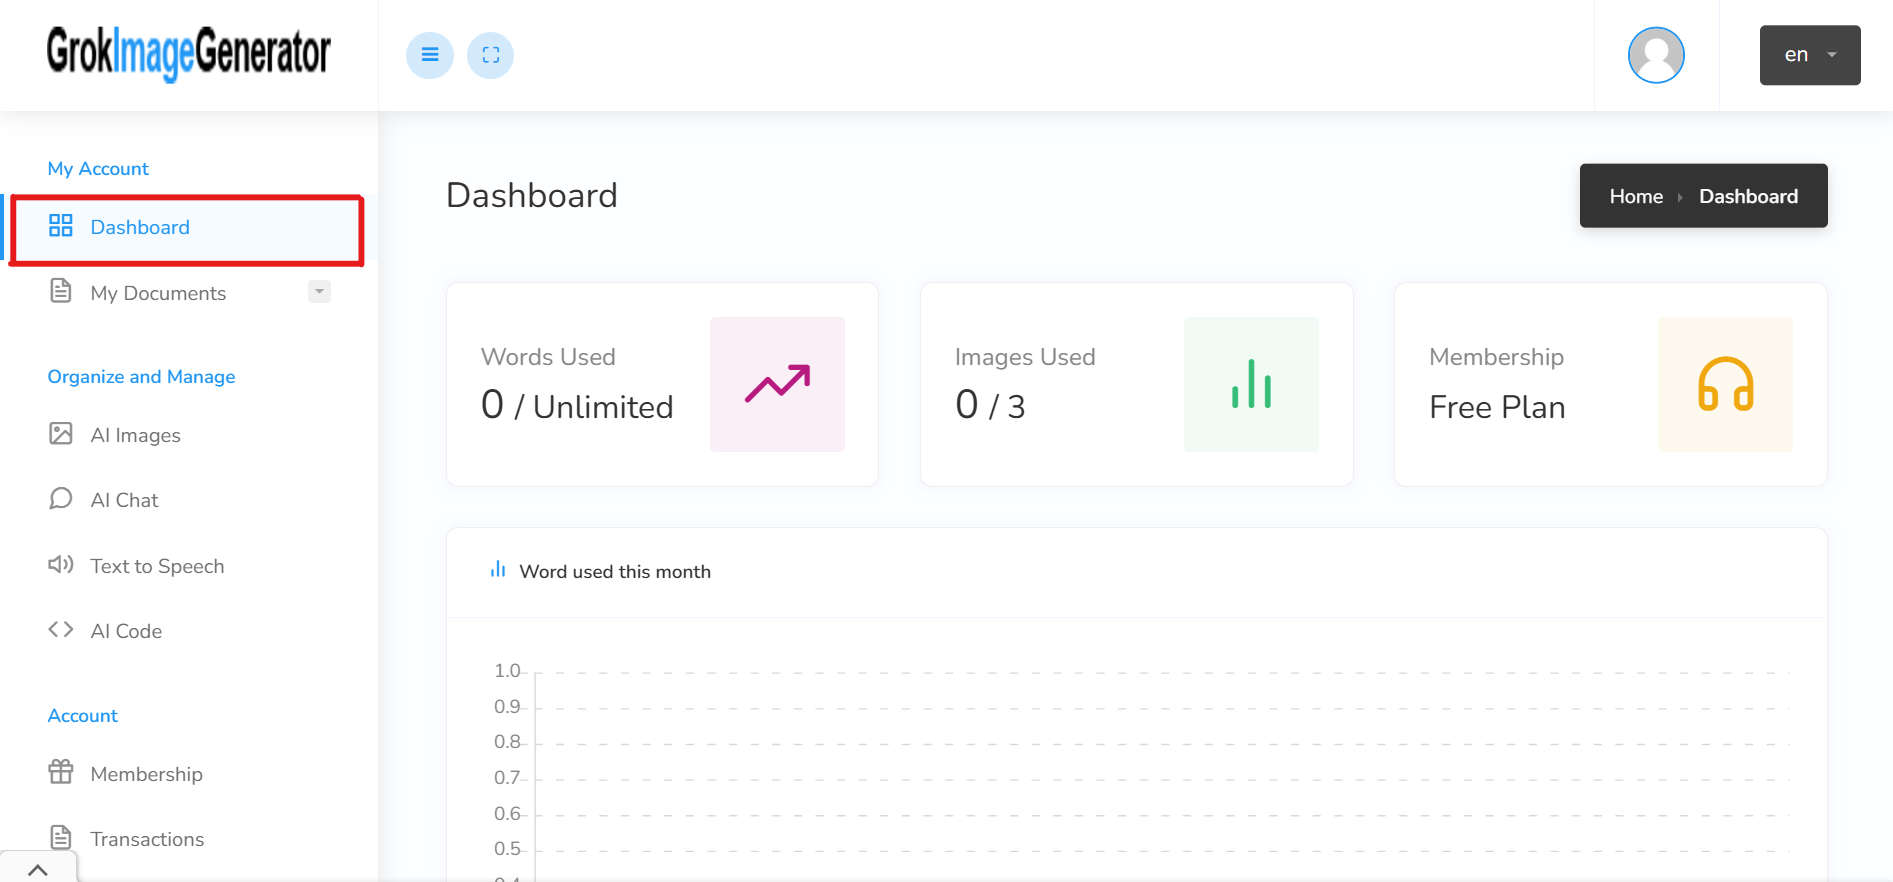
Step 3: Click on AI Images
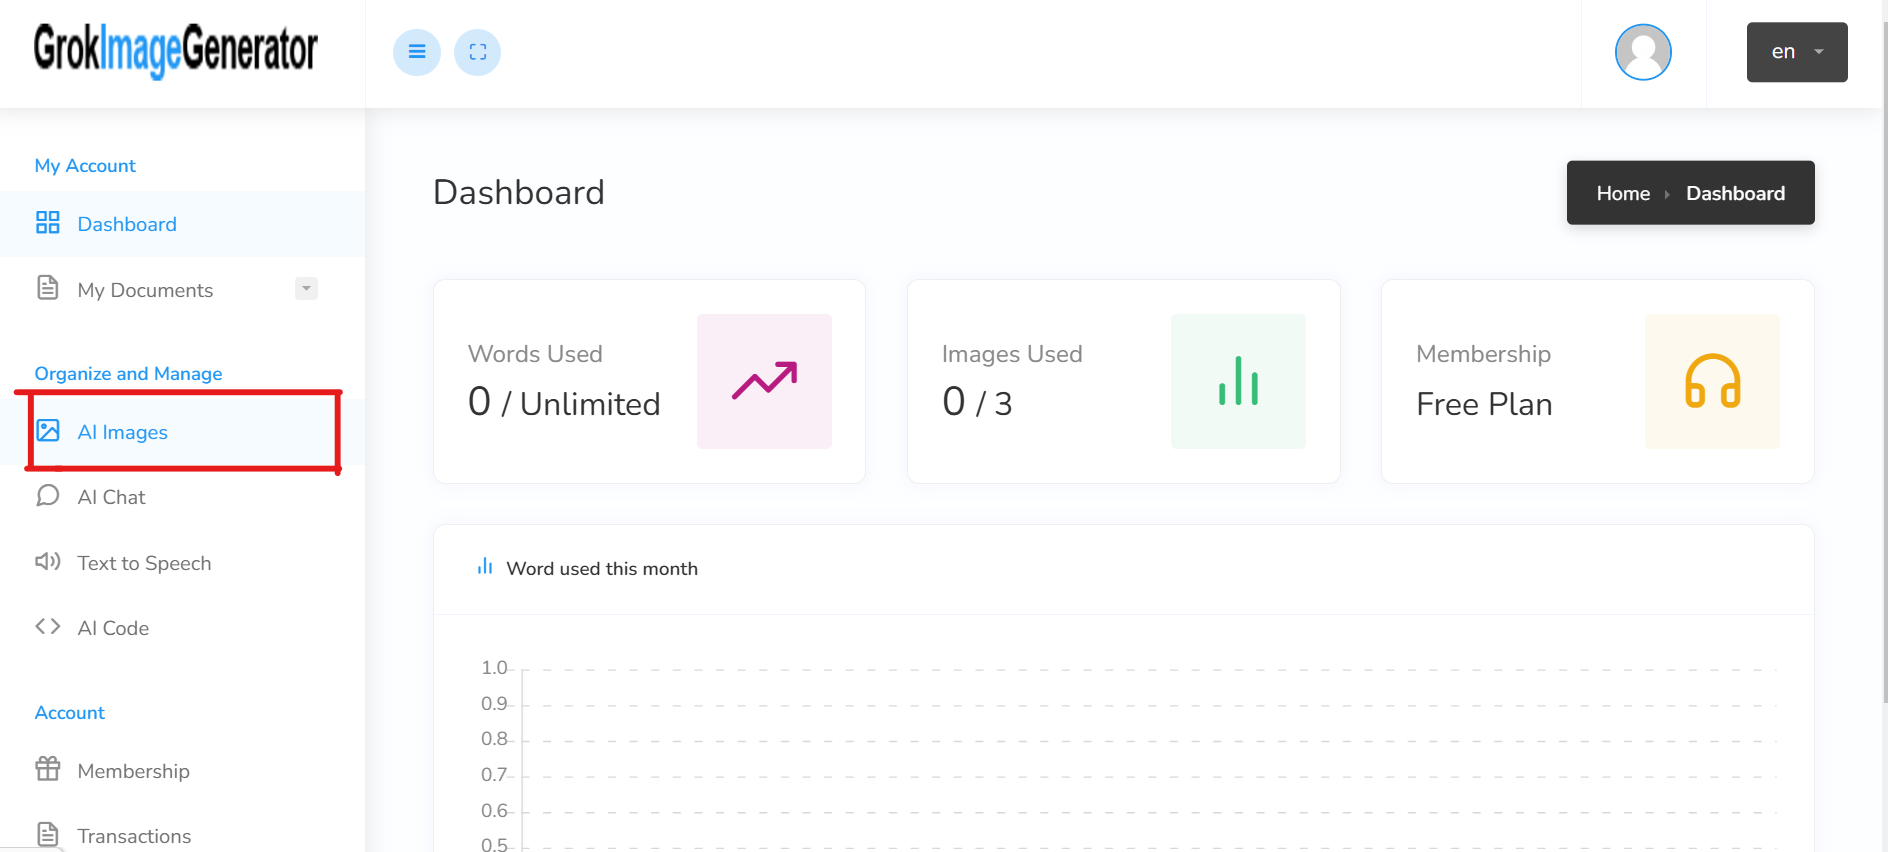
Step 4: Type In Keywords
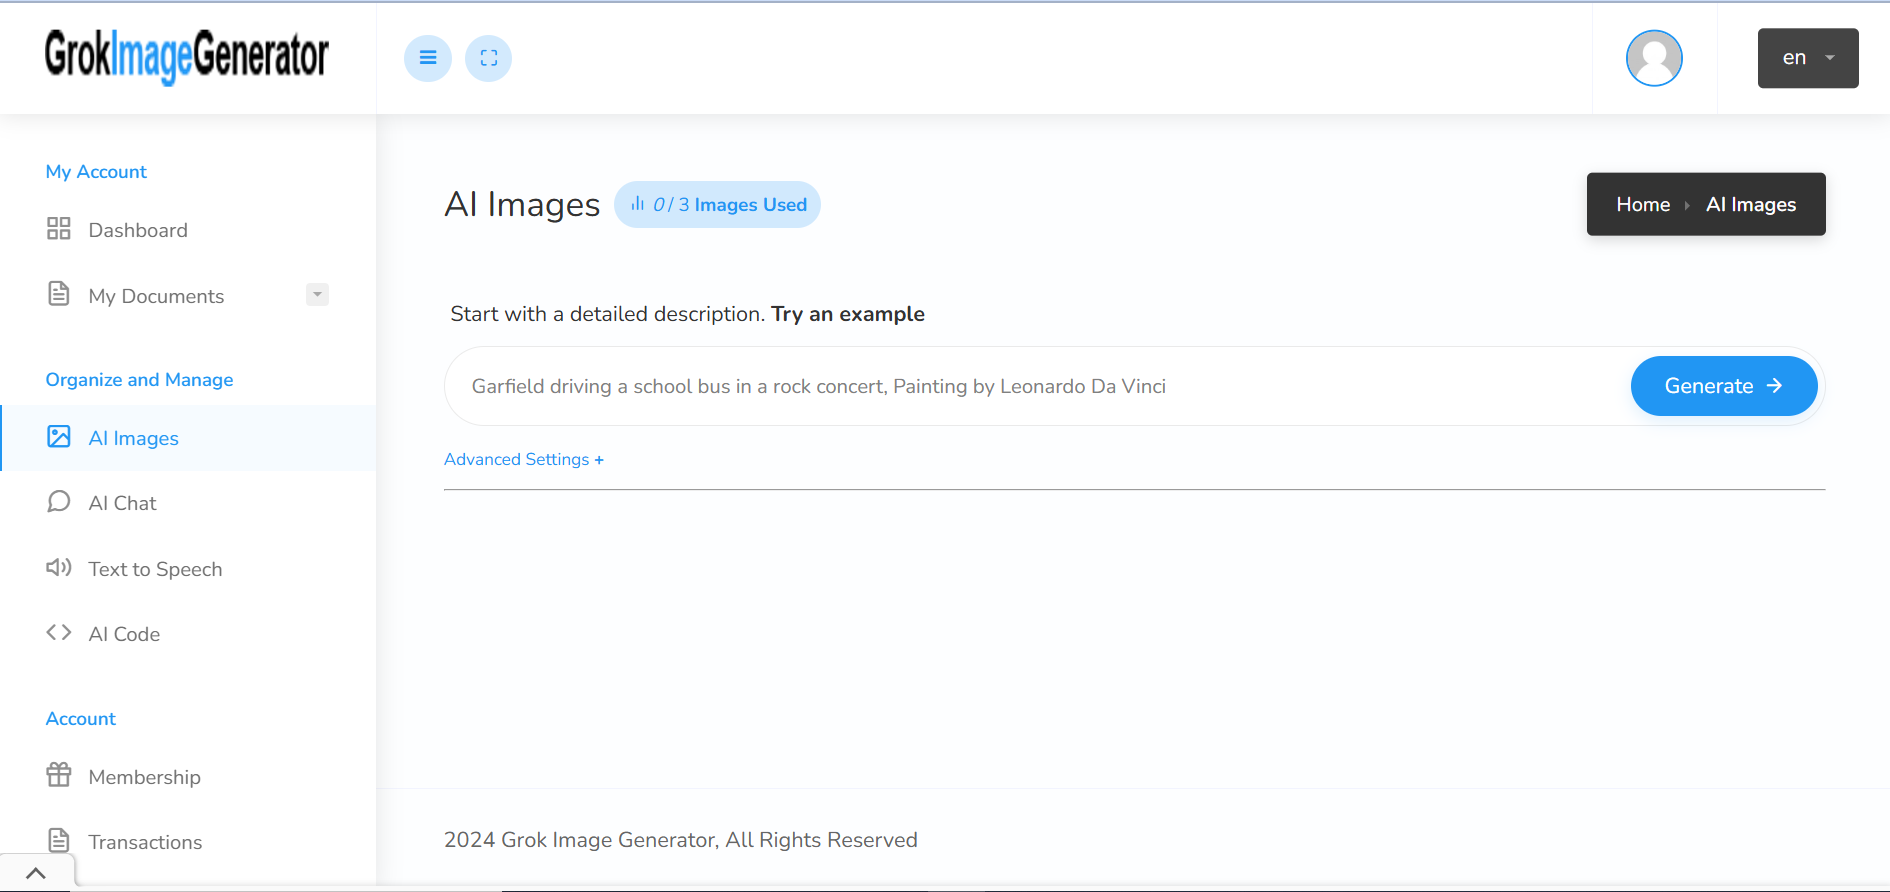
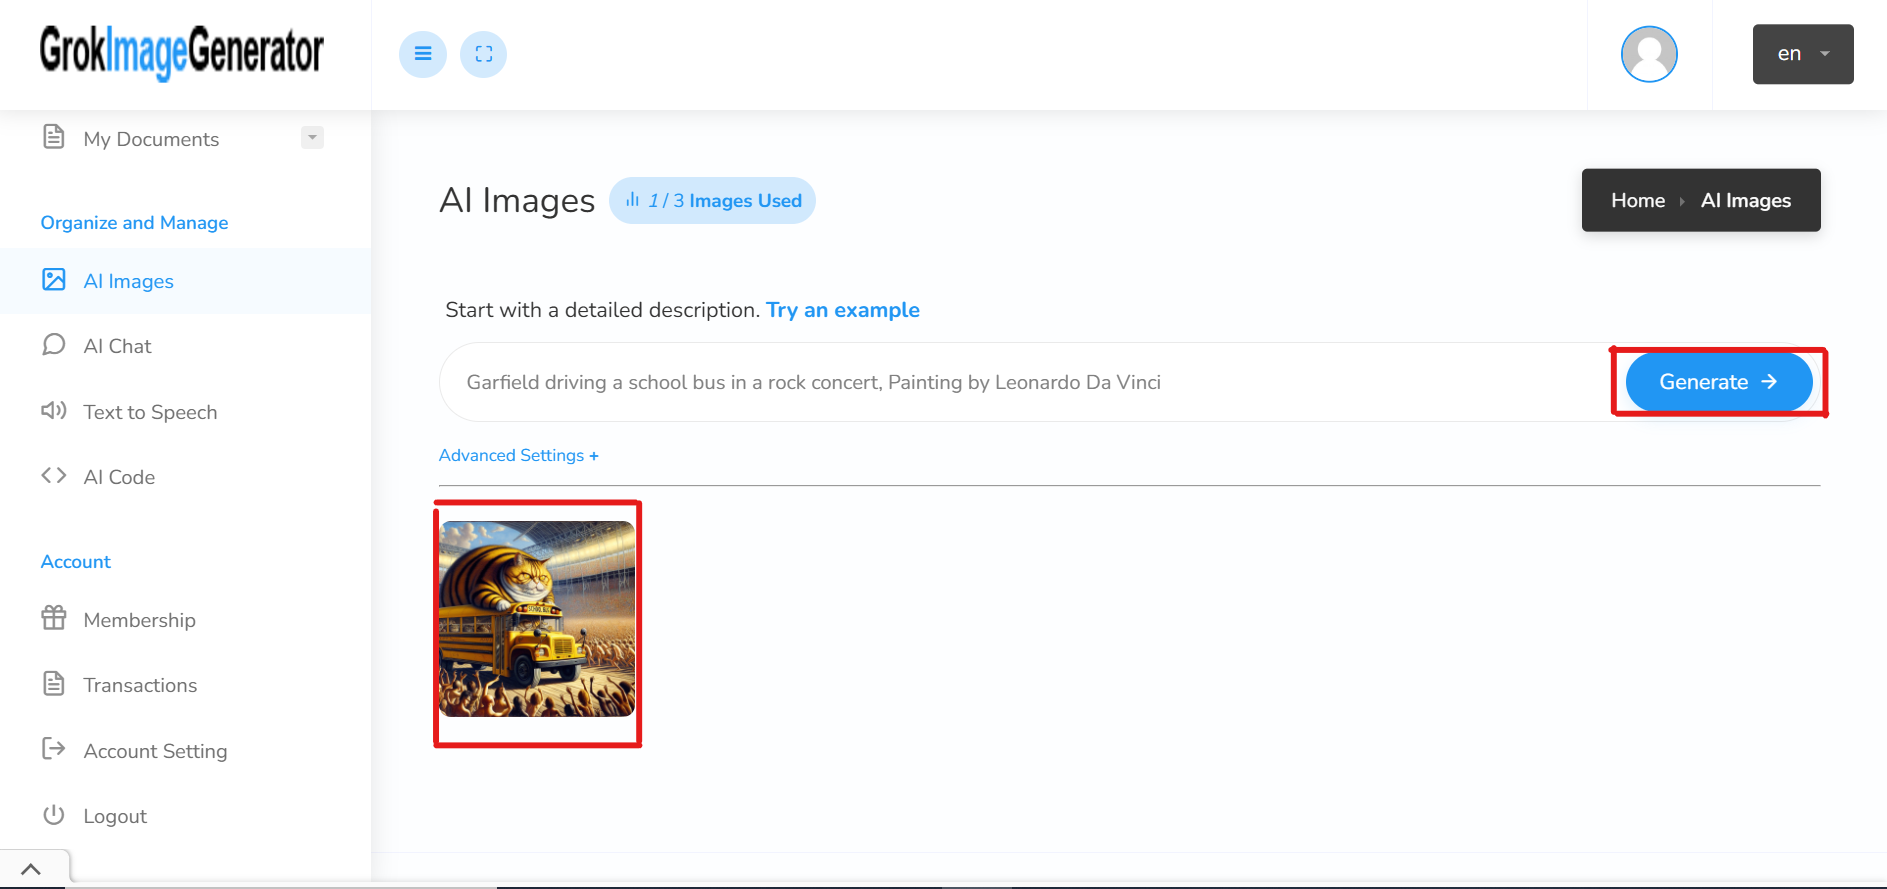
You’re expected at this point to type in the words of what you want Grok AI Image Generator to generate. For everything you need to generate, there are words you need to type in the allotted box for vivid description of what you need to be generated.
Step 5: Click on Advance Settings
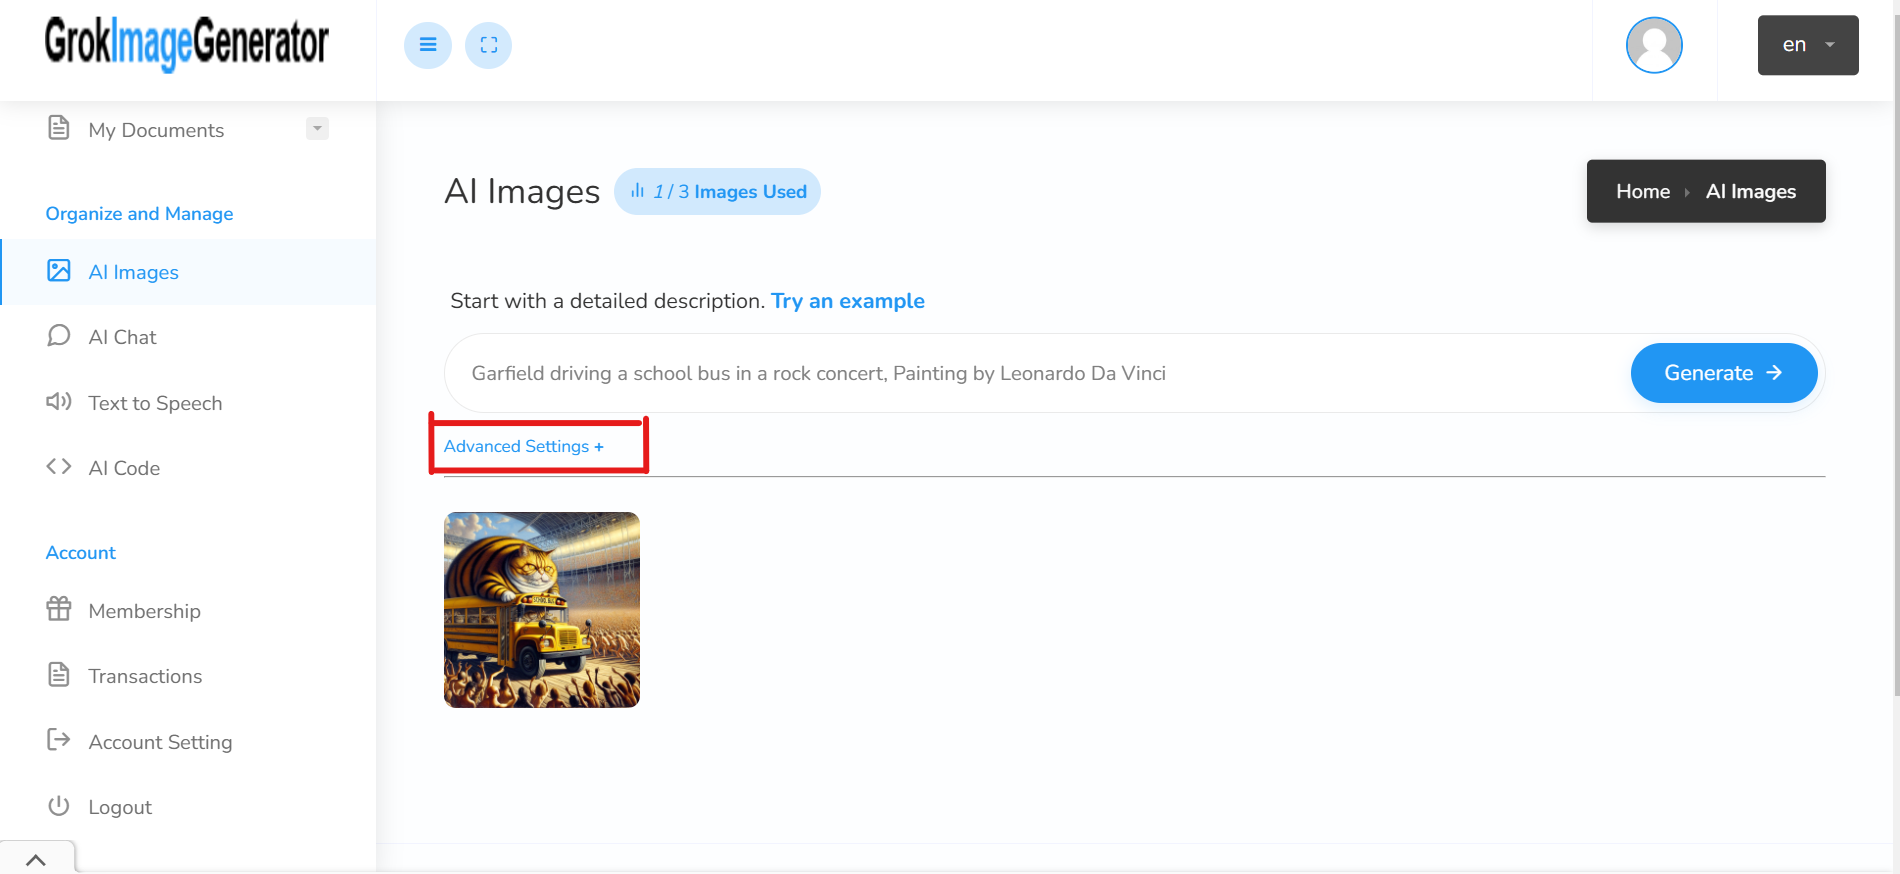
Sequel to include the description of what you so desire to be generated by Grok AI Image Generator, there is an advanced button you need to click to make your generated picture more interesting and captivating.
Step 6: Make necessary adjustments.
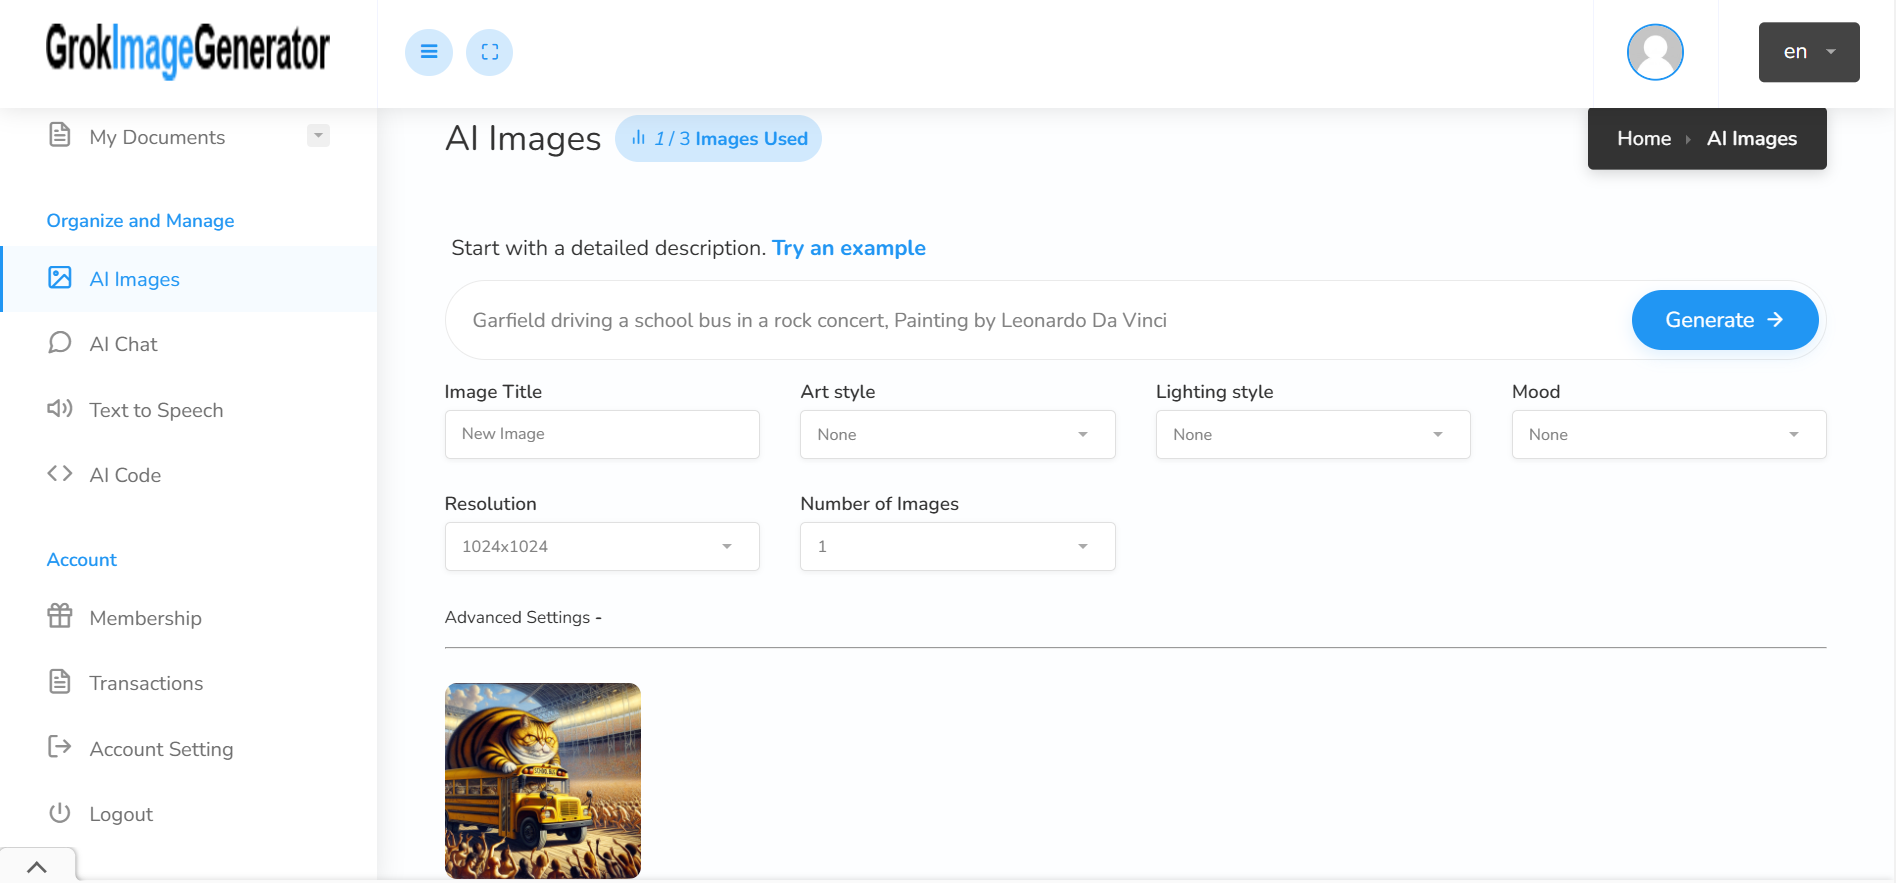
At this point, you need to add more settings as seen in the picture above to your Grok AI image that has been generated. These advanced settings include changing the art style, resolution, image title, number of images to be generated, lighting style and mood. All these add beauty and professionalism to the Grok AI Image you want to generate. Then you click on generate and exercise patience.
Essentially Features of Grok AI for New Creators
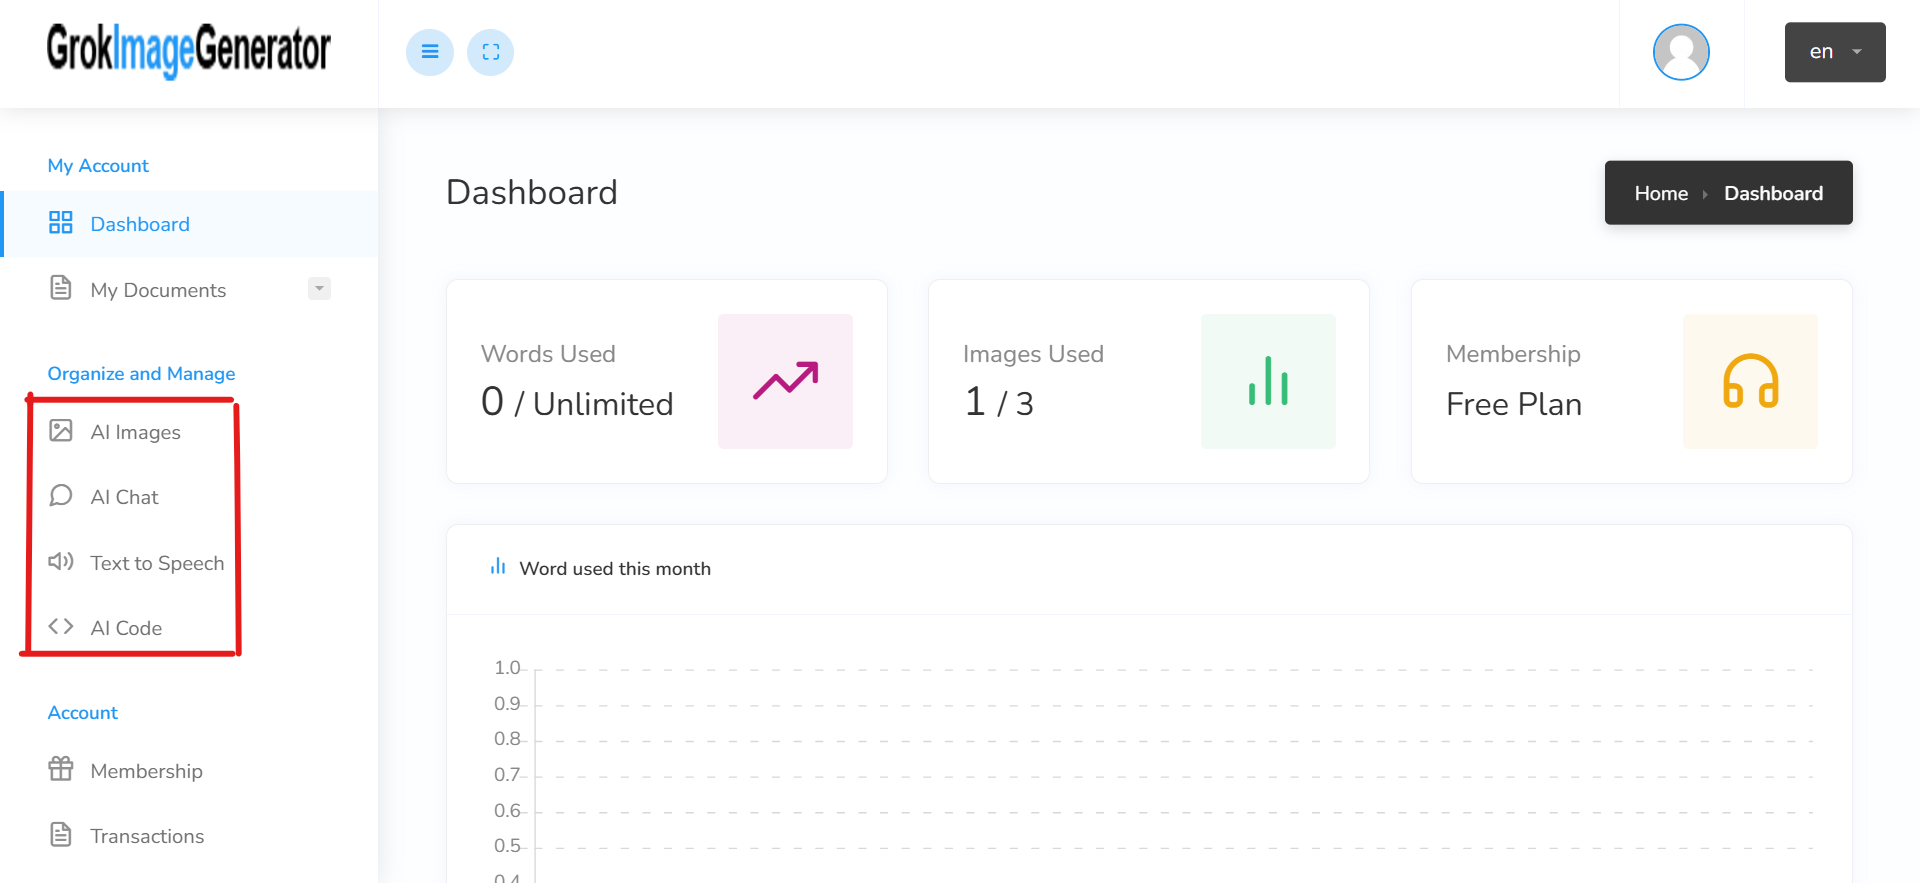
Finding it hard on how to use Grok AI as new creators shouldn’t be hard at this time again, especially sequel to the above steps. There are features you can employ as new creators which are readily available for you on this platform. The features are: AI chats, AI images, text to speech and AI code.
Take It Up a Notch: How VidAU Complements Grok with Video Generation
Like the name explains, what Grok AI image generator does is to generate images. Many people love video representation or generation, but unfortunately Grok AI doesn’t do so. This shouldn’t be a source of worry anymore as VidAU AI complements Grok with Video Generation. You can generate images and videos using VidAU’s platform. More shocking is that VidAU AI image and video generation are always in high quality.
Elevate Your Creation With Grok AI Image Generator Tools

Customizing Your Grok AI Images for Unique Results
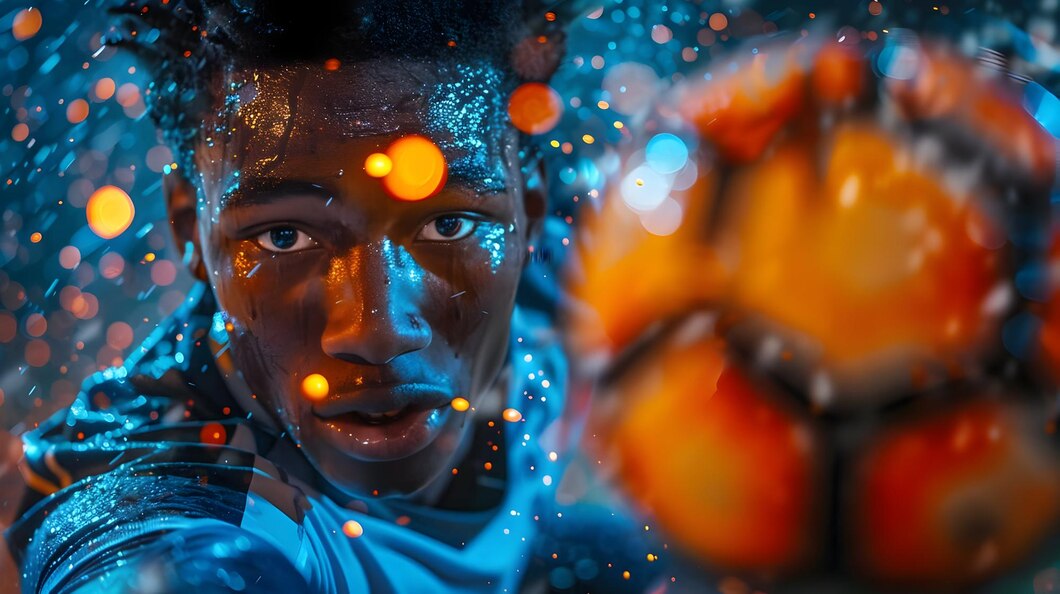
Sequel to generating your Grok AI Image, you have the sole power of editing and customizing the generated image as you wish to suit your desired taste. If it is good, you can make it better; and if it is better, there’s always a chance to make it good.
Tips for Using Grok’s Advanced Image Editing
Grok AI Images advanced settings are mainly for adding excellence to your generated image. After signing up, you click the dashboard button and you will be directed to click one of the features; it is at this point that you’ll see advanced settings sequel to your clicking AI images. The advanced settings are to add more graphical flavors to your images.
Pairing VidAU’s Tools With Your Grok Images for a Dynamic Look
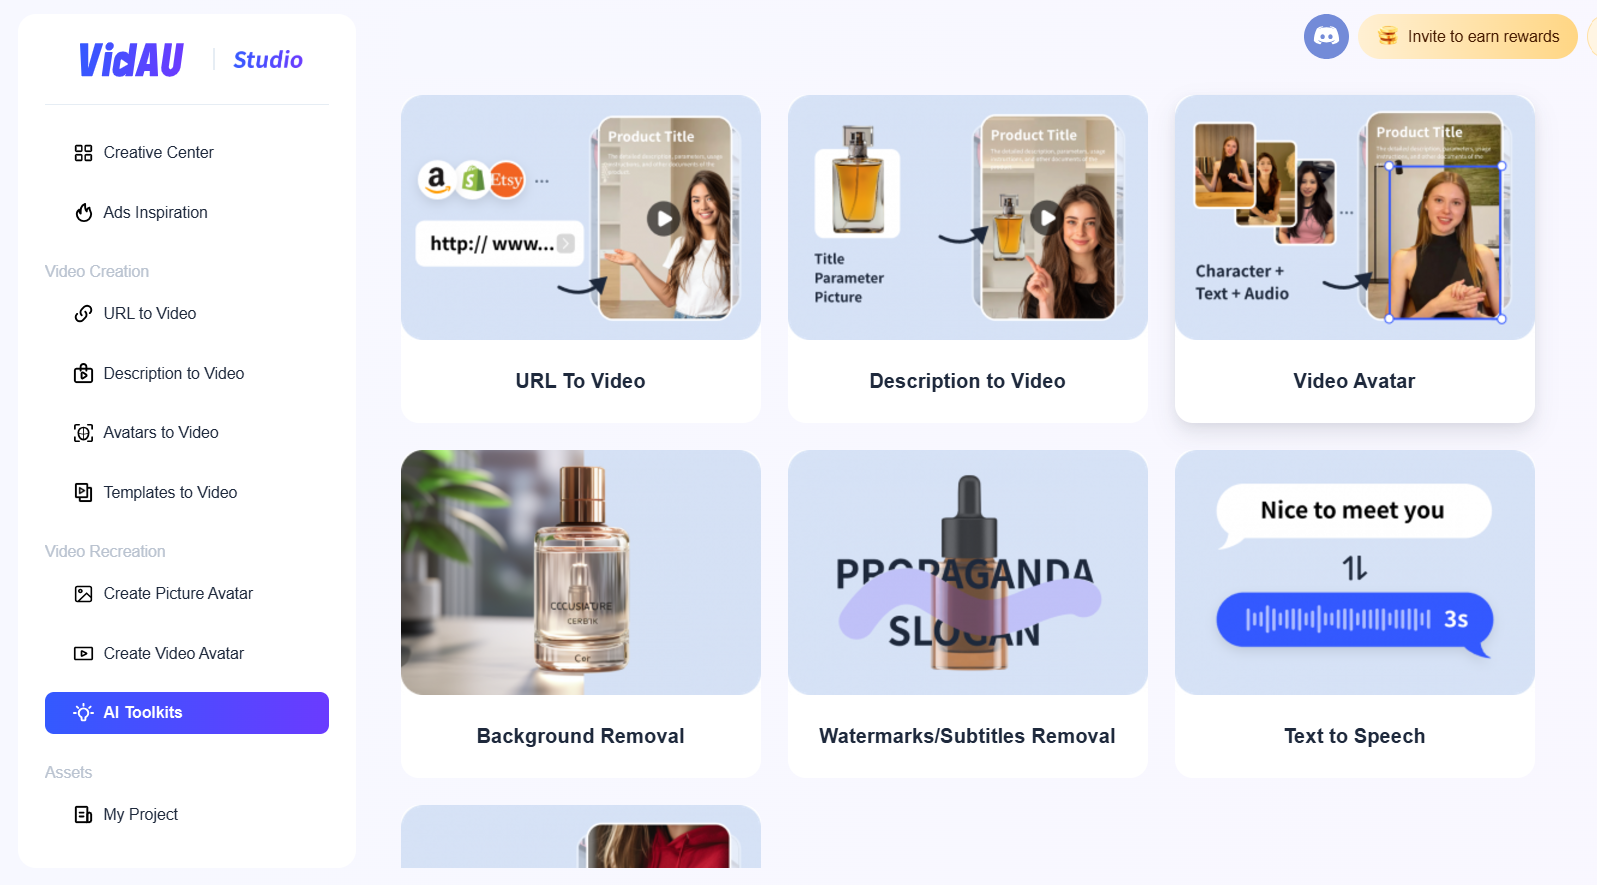
VidAU, just like Grok AI Image Generator, has its tools and they are also beautiful and amazing. To have a dynamic look, you can pair VidAU’s Tools such as URL to Video, description to video, video avatar, etc with your Grok Images.
Mastering the Art of Grok AI Images: Tricks & Tips
After having used Grok AI Image Generator for some time, there is a level of expertise that comes with using this AI tool: you tend to know how to navigate your way through the platform till you hone the skills and tricks of the platform. Below are some of the tricks and tips for usage of the platform:
Creating Consistent Styles and Color Themes with Grok AI
You can create or change styles and themes of Grok AI Images that have been generated. The style option gives you the opportunity to choose font and other styles related to its positioning while the mood adds or changes the existing mood created.
Editing Grok AI Images to Match your Brand Identity
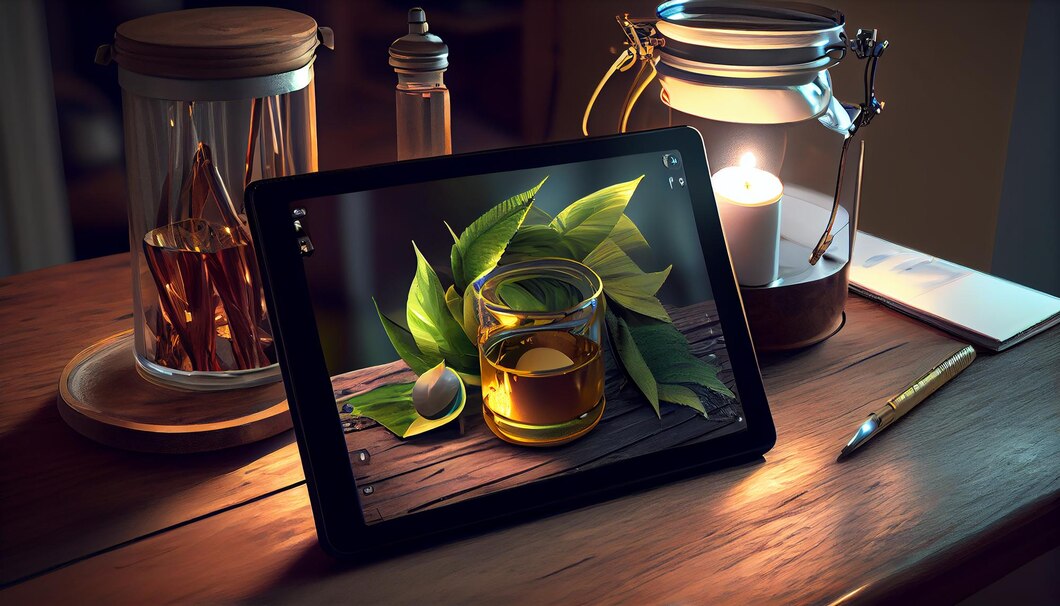
Do you have a brand identity? With Grok AI Image Generator, you can edit the image generated to suit your brand identity. This is very important because failure in getting your desired brand identity expressed or described can jeopardize or send a wrong notion to your audience; hence, it is necessary to edit it to suit brand identity with this AI image generator.
Creating Complete Media Campaign with Grok AI and VidAU Together
Media campaigns are needed to extend and widen your audience reach. With great audience reach comes great attraction to customers, which invariably leads to more sales and awareness. VidAU can complement your Grok AI Images for media campaigns.
Going Beyond Images: Why VidAU Makes the Perfect Pair with Grok AI
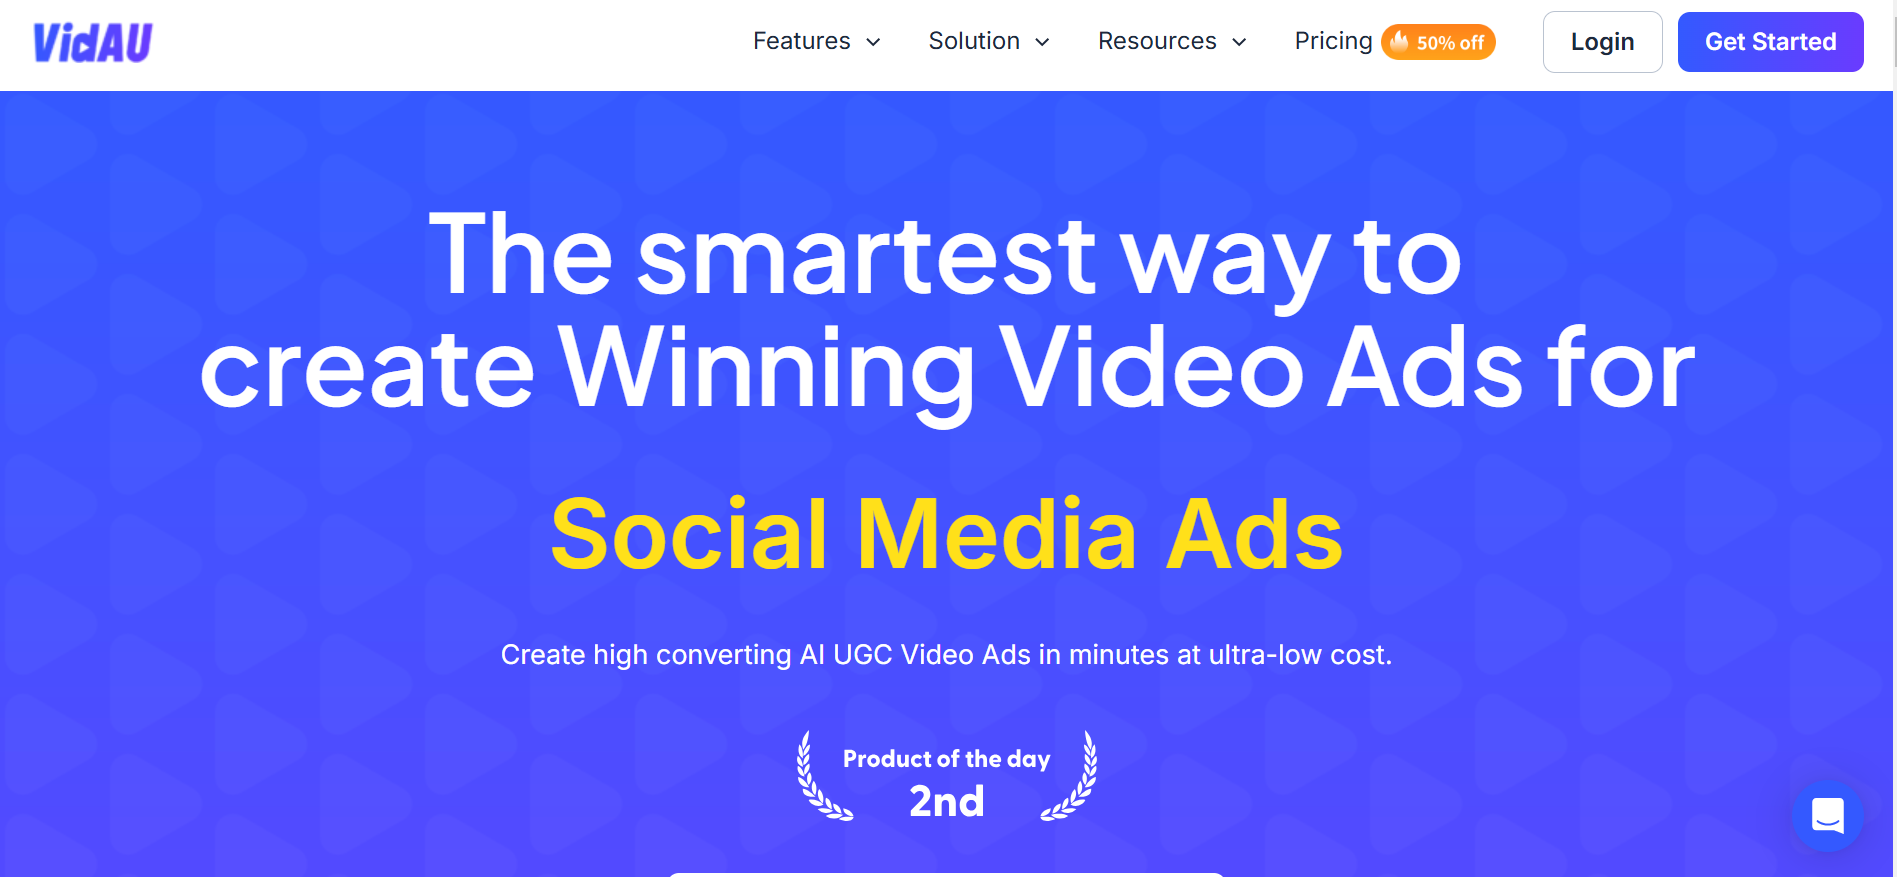
Grok AI Image Generator is known for generating images with high quality. VidAU makes the perfect pair with Grok AI because it not just makes image representation possible, it presents users the options of generating the videos of their choices.
Seamless Transition of Image to Video Content
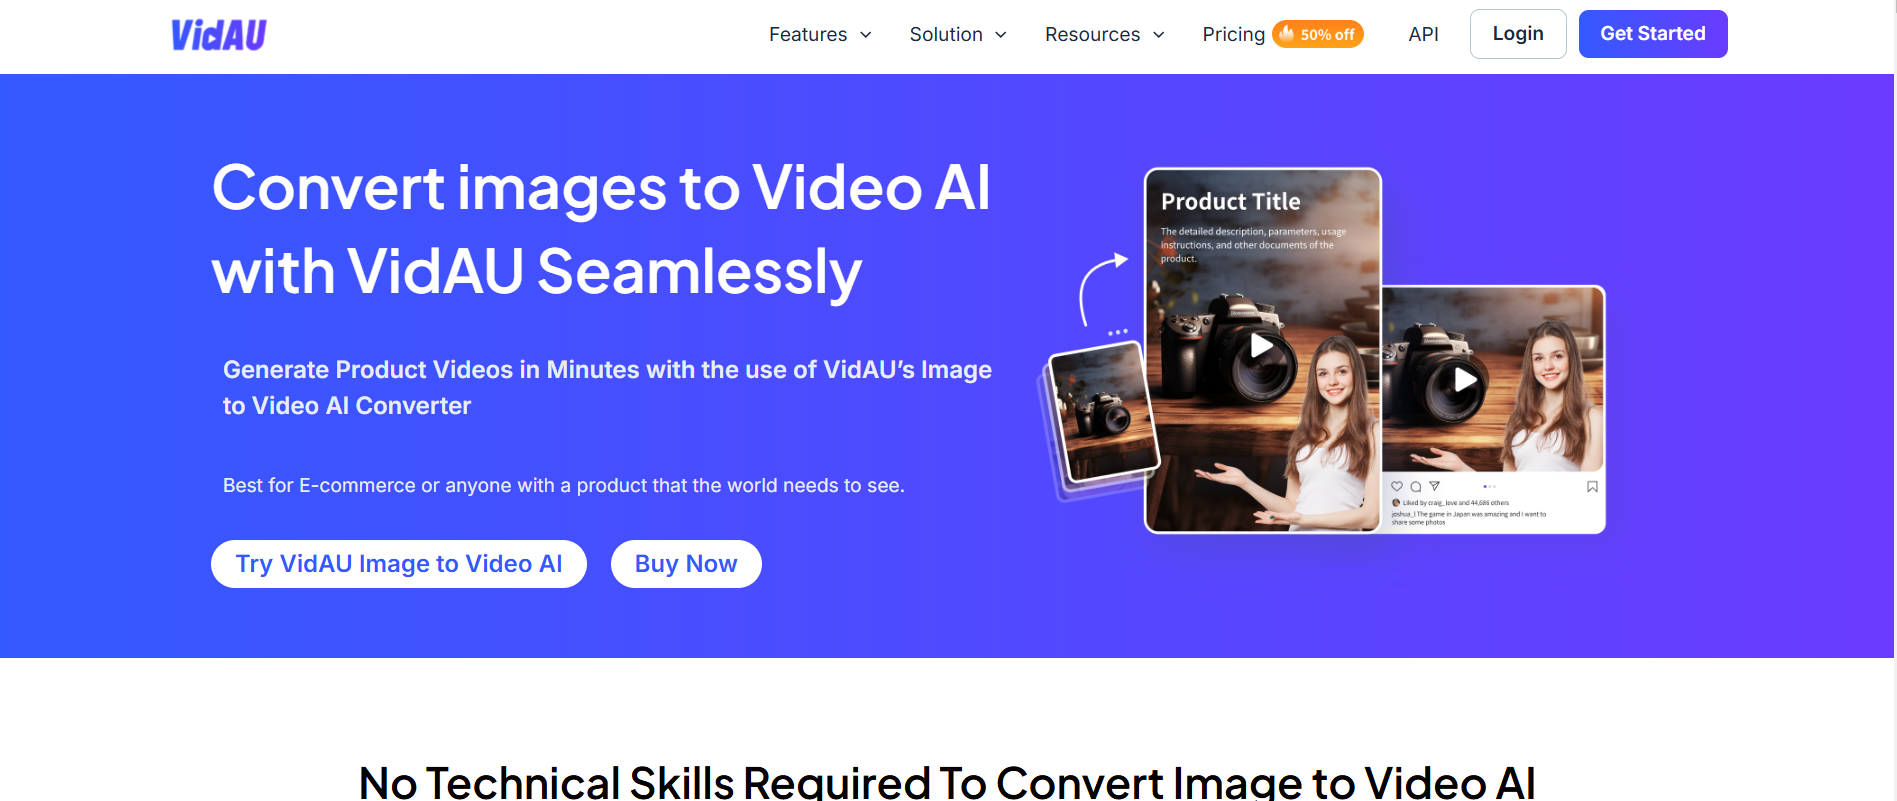
Unlike Grok AI Image Generator, VidAU AI gives you the opportunity to transition from image to video. To a great extent, VidAU is a platform where you can convert your ideas in pictorial form to video format.
Maximizing Engagement: Why Images and Videos Together are Essential

While Grok AI Images aren’t of low quality, it is wise to complement and/or maximize the use of video together with the generated image. It brings its beauty and realistic representation of the image concerned.
Your Step-by-Step Guide to Integrating VidAU for Image to Video Ads
With VidAU you can convert images to video provided you have the image. Below are easy steps to create your videos with VidAU:
STEP 1: Login or get started
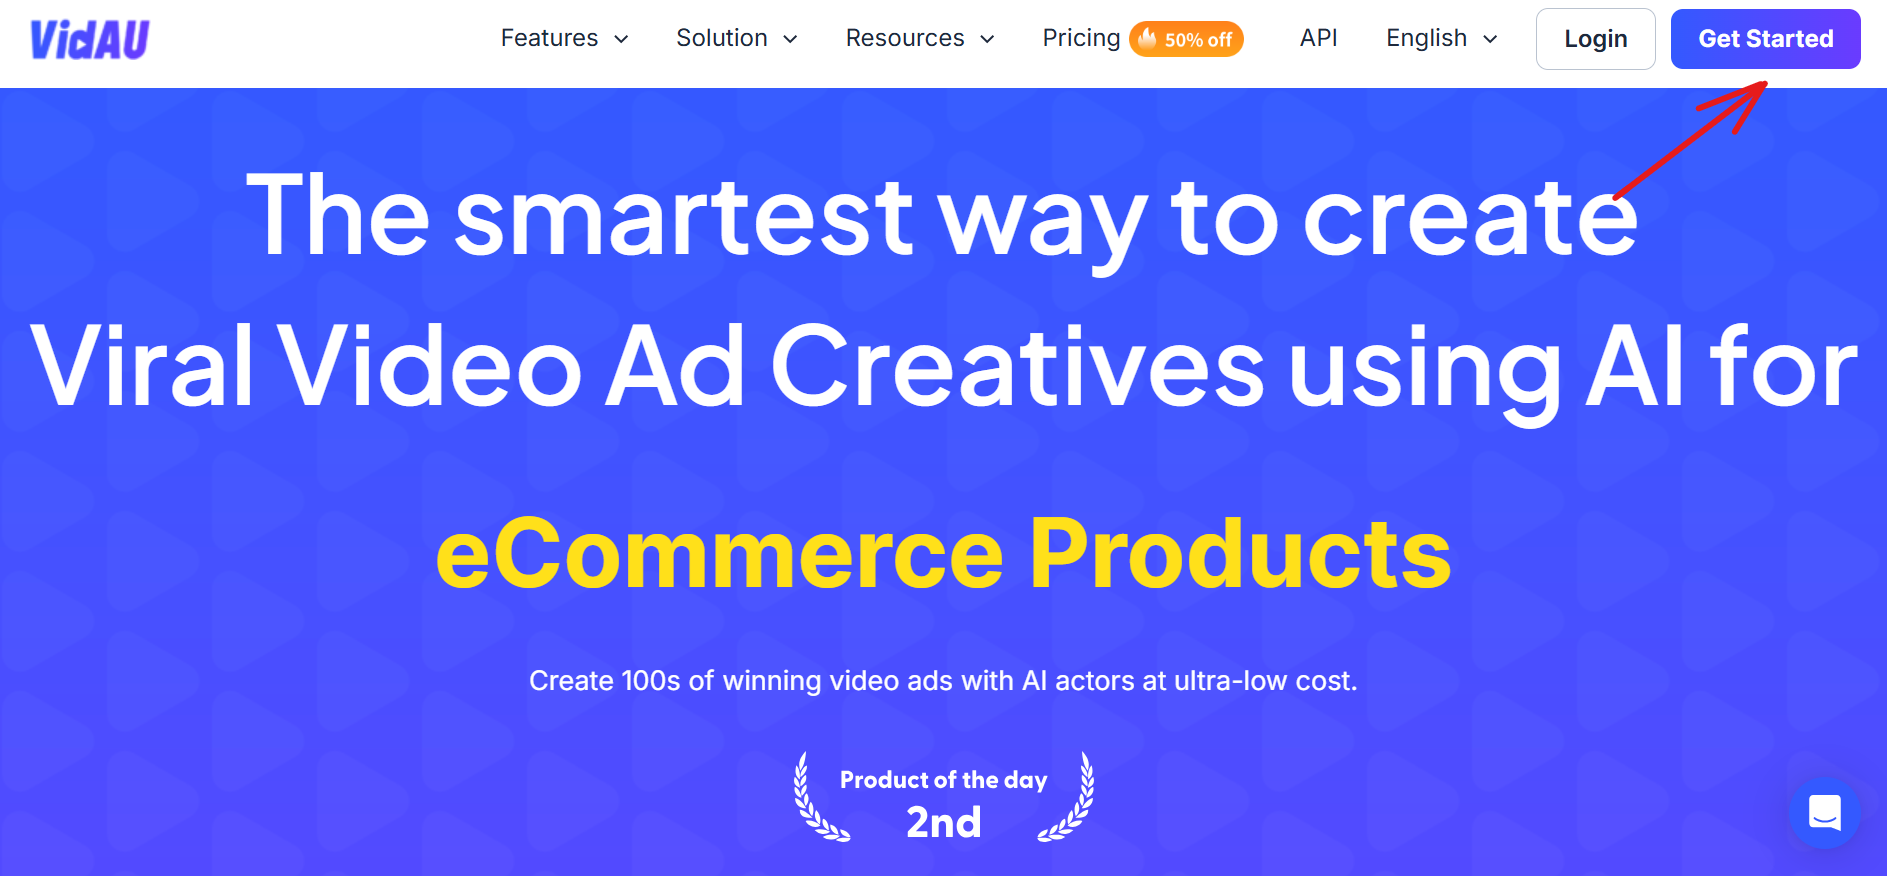
You must have an account with VidAU to gain full access to the platform. Get started or login is the first prerequisite to converting image to video. If you have an account already, just log in; but if not, just sign up directly.
STEP 2: Click create video avatar
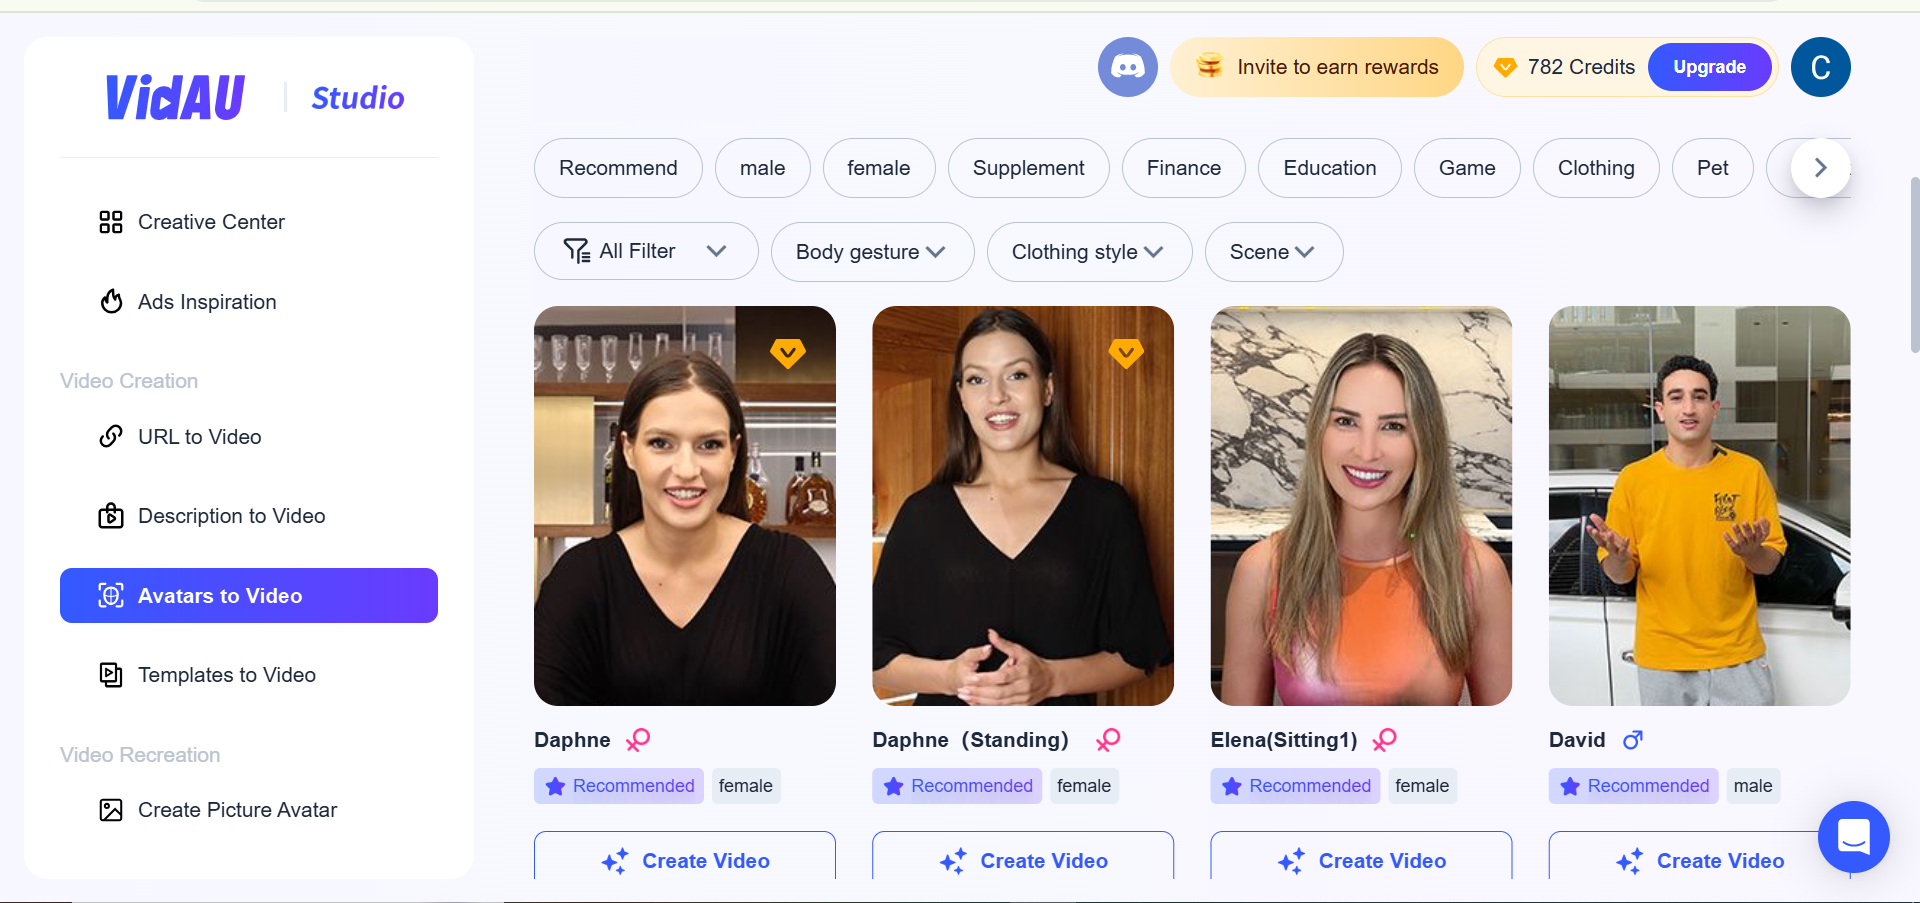
Next in line is to click on Avatar to video after signing in or creating your account.
STEP 3: Generate Avatar video
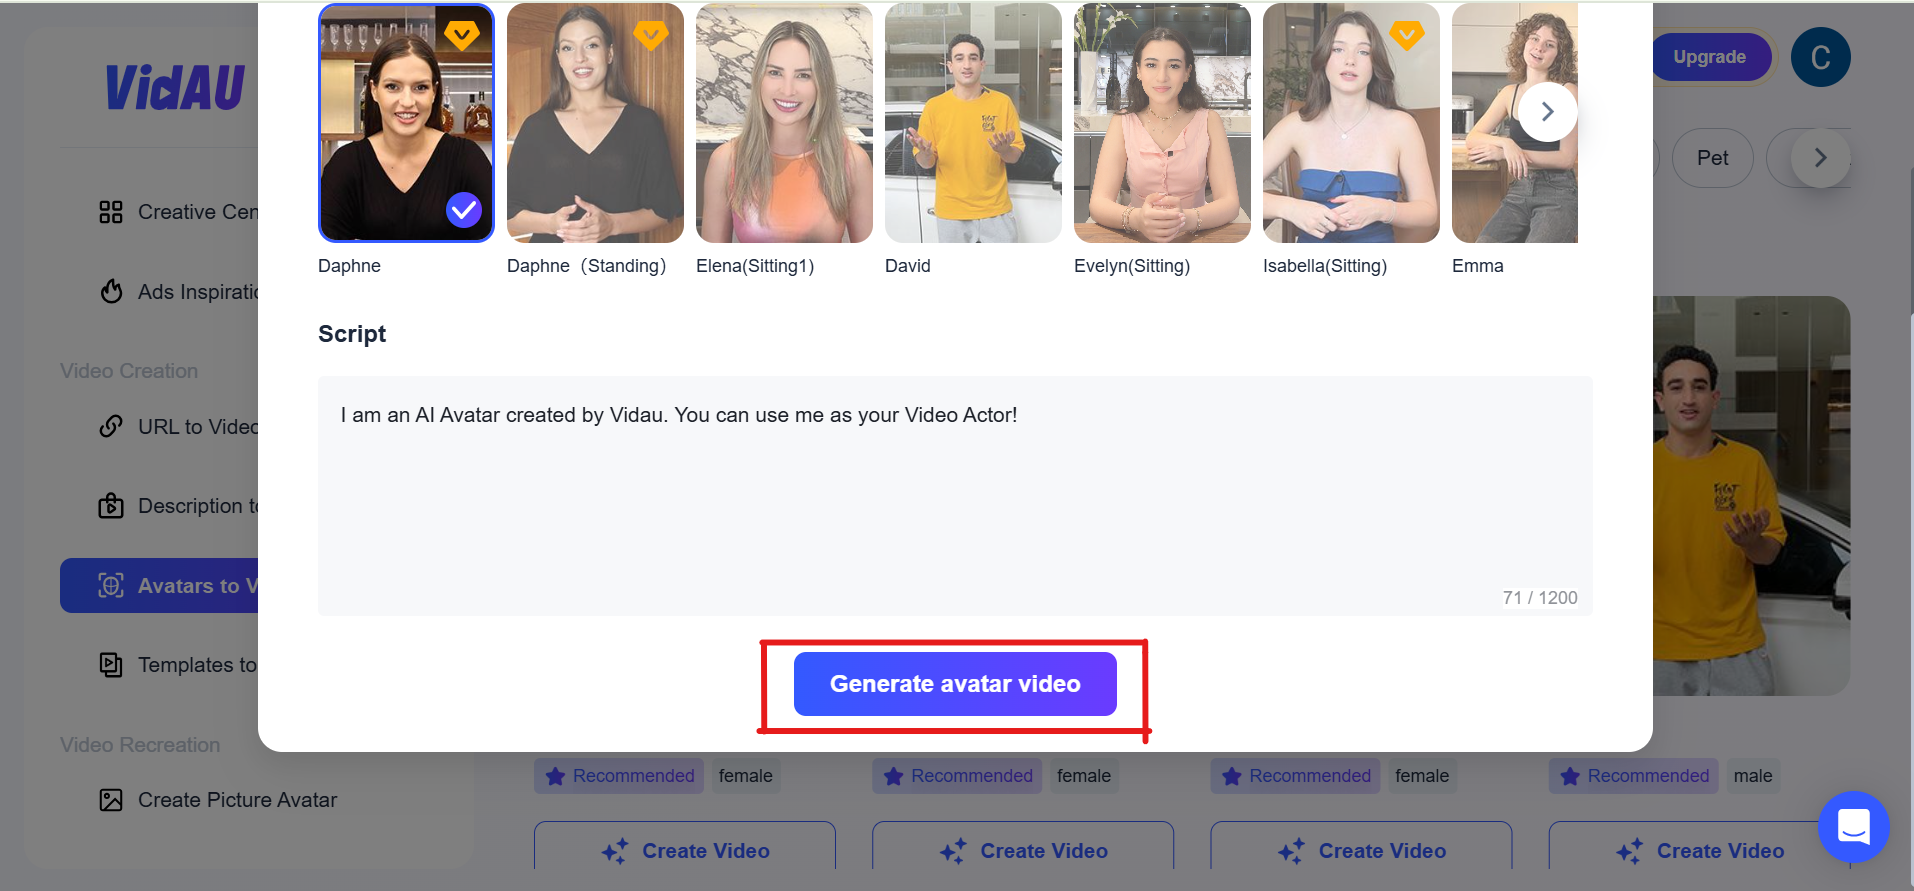
Patience is the key sequel to your clicking on the generate videos button. You have to be patient and not interrupt the generation of the video.
STEP 4: Make necessary edits.
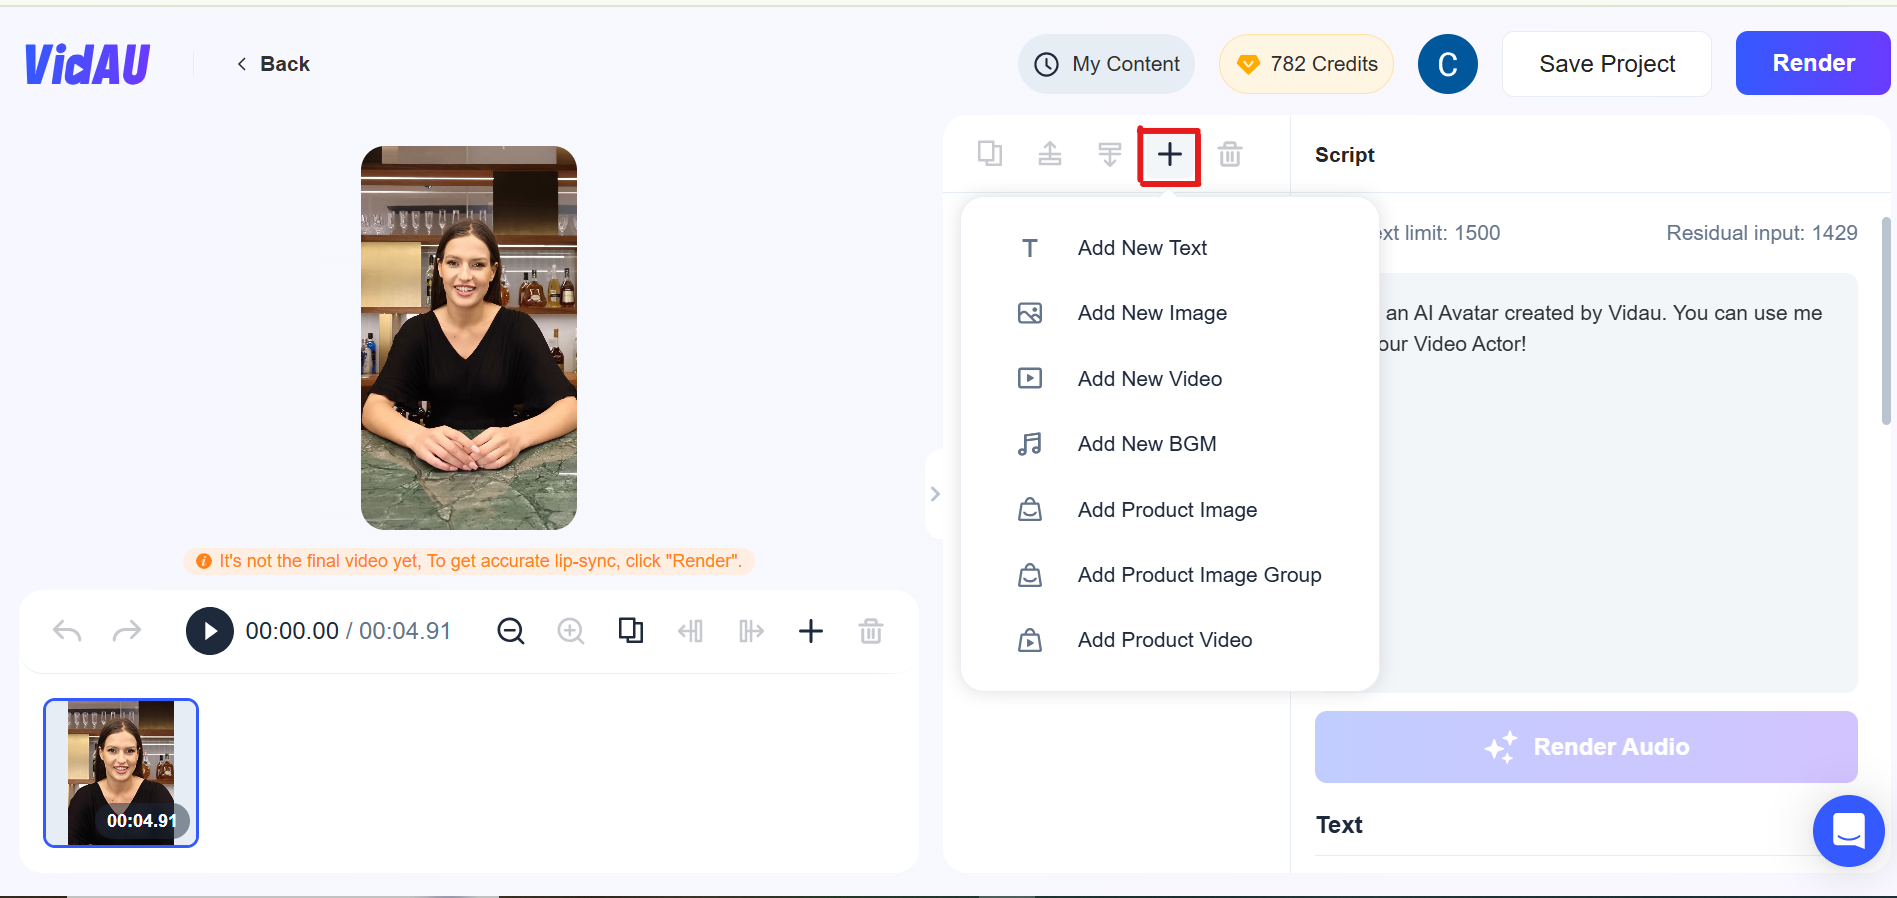
With this, you have the opportunity to input and/or make necessary edits to your taste. You can customize it the way you want by adding descriptions of the products and using other tools.
STEP 5: Click render
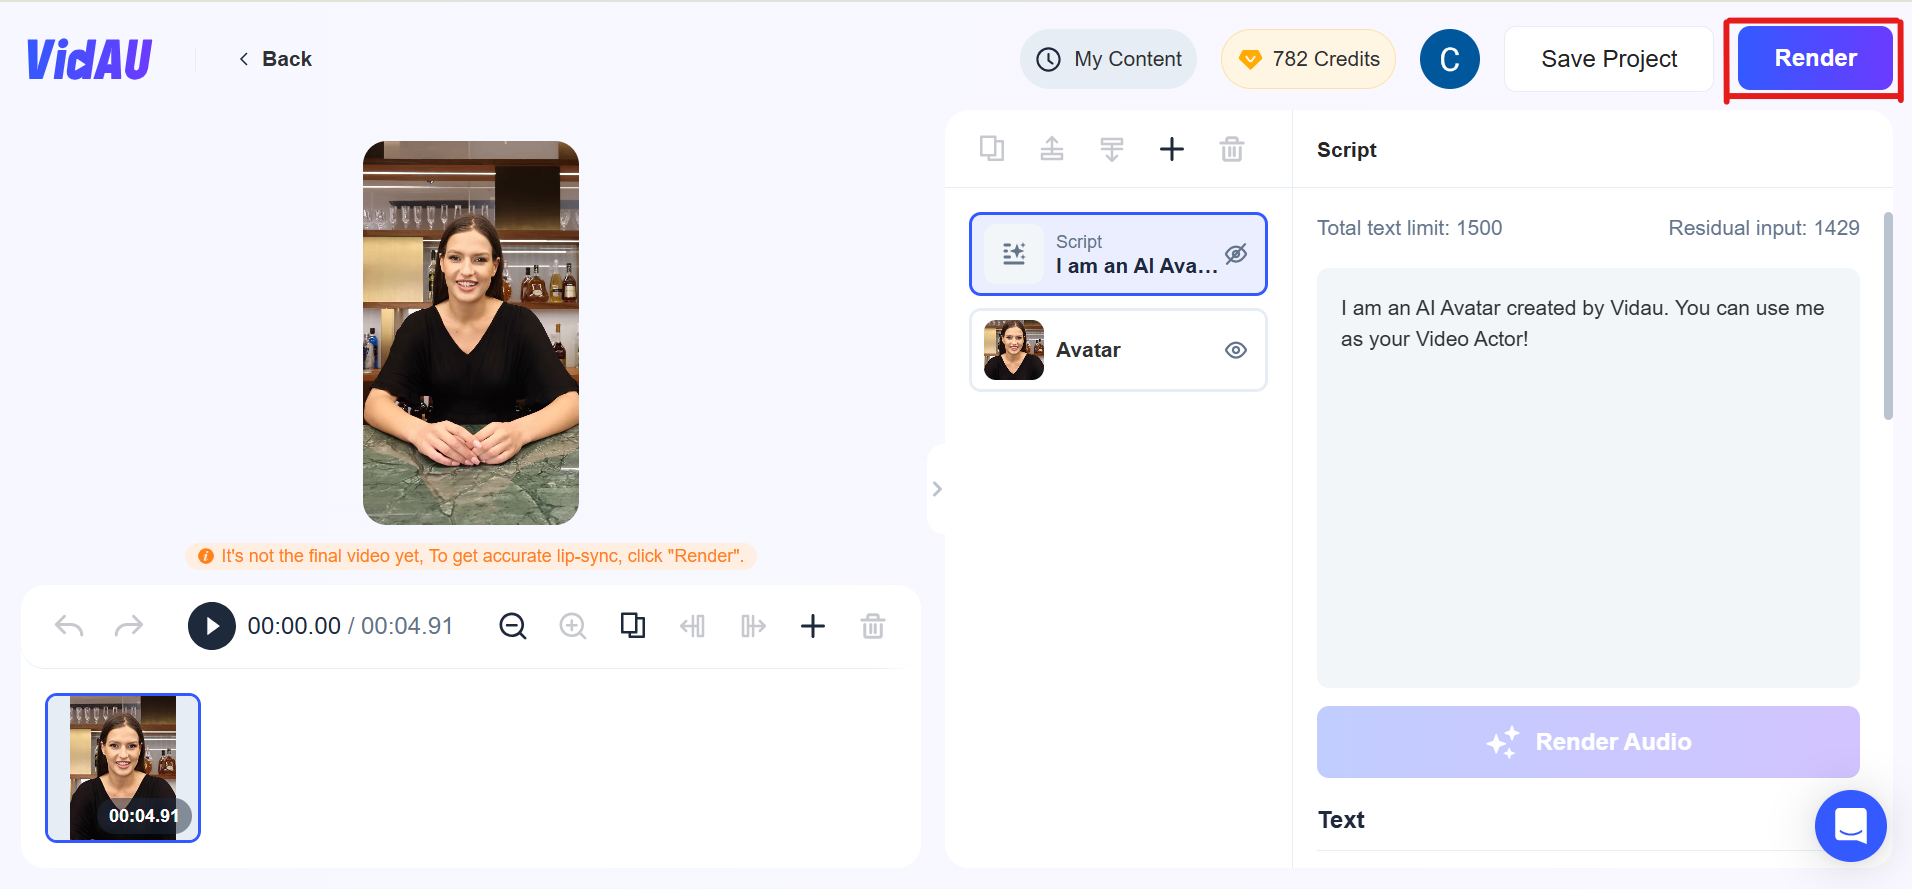
Having customized it the way you want, click on render to have your ready and there you’ve got it. Your image has been converted to video.
Step 6: Save, download and share
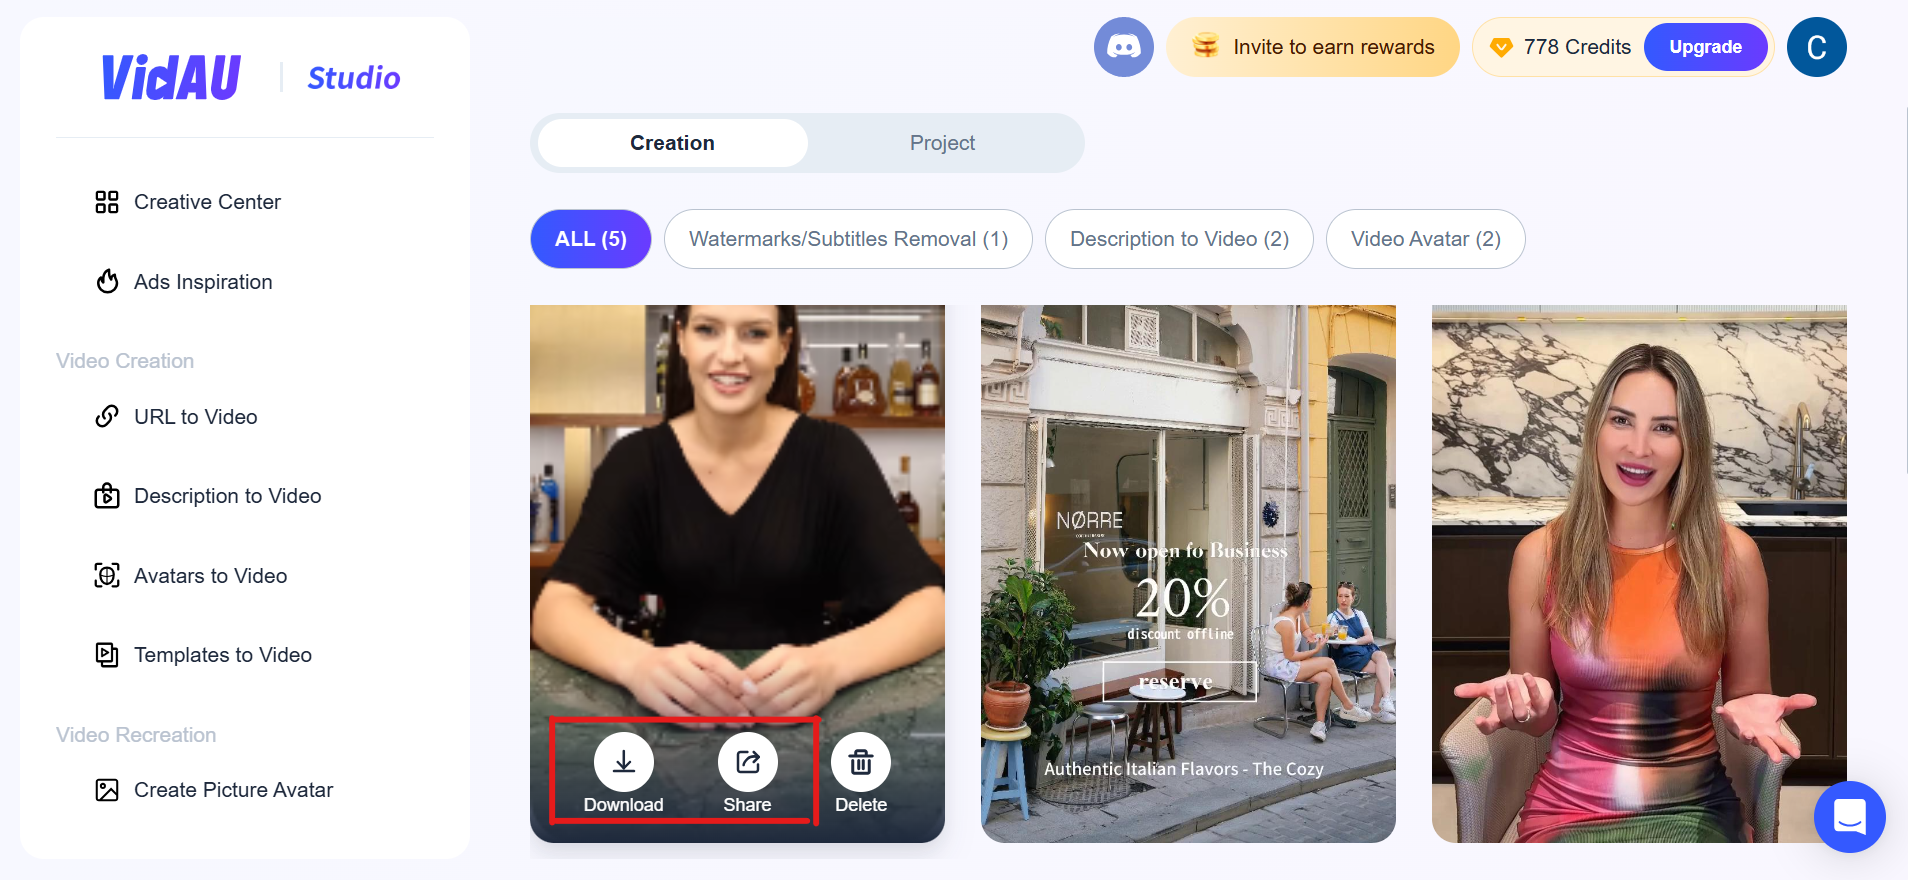
Now that your video is ready, you can either download, save or share it.

